Kitten Grooming: Brushing & Nail Trims 101
Kitten grooming can be easy! Learn tips for brushing and nail trims to keep your feline friend happy & healthy. Click to learn more!
Basic Grooming for Kittens: Brushing and Nail Trimming Introduction
Bringing a kitten into your home is a joyous occasion! Those tiny paws and playful antics are guaranteed to bring smiles. But along with the fun comes responsibility, and that includes grooming. Introducing your kitten to basic grooming practices like brushing and nail trimming early on is crucial for their comfort and overall well-being. It also makes your life much easier down the road! No one wants to wrestle a full-grown cat who hates being touched.
This guide will walk you through the basics of kitten grooming, focusing specifically on brushing and nail trimming. We’ll cover everything from why it’s important to start early to how to make the experience positive for both you and your feline friend.
Why Start Grooming Your Kitten Early?
The earlier you introduce your kitten to grooming, the better. Think of it like socializing them – you’re showing them that being handled, brushed, and having their nails trimmed is a normal and safe experience.
- Builds Trust: Consistent, gentle grooming sessions build trust between you and your kitten. They learn to associate your touch with positive experiences, like treats and praise.
- Prevents Matting: Regular brushing prevents mats and tangles, especially in long-haired breeds. Mats can be painful and even lead to skin infections. Addressing this early is key to avoid painful mat removal later.
- Easy Nail Trimming: Starting nail trimming early gets your kitten used to the sensation of having their paws handled and their claws clipped. This is much easier than trying to trim the nails of a resistant adult cat!
- Bonding Time: Grooming sessions can be a great opportunity for bonding. It’s a chance to spend quality time with your kitten and reinforce your relationship.
- Health Check: Grooming allows you to regularly check your kitten for any lumps, bumps, or skin problems. Early detection is always best when it comes to health issues.
Brushing Your Kitten: A Gentle Introduction
Brushing isn’t just about keeping your kitten looking good; it’s also about their health. Regular brushing removes loose fur, preventing hairballs and keeping their coat healthy and shiny.
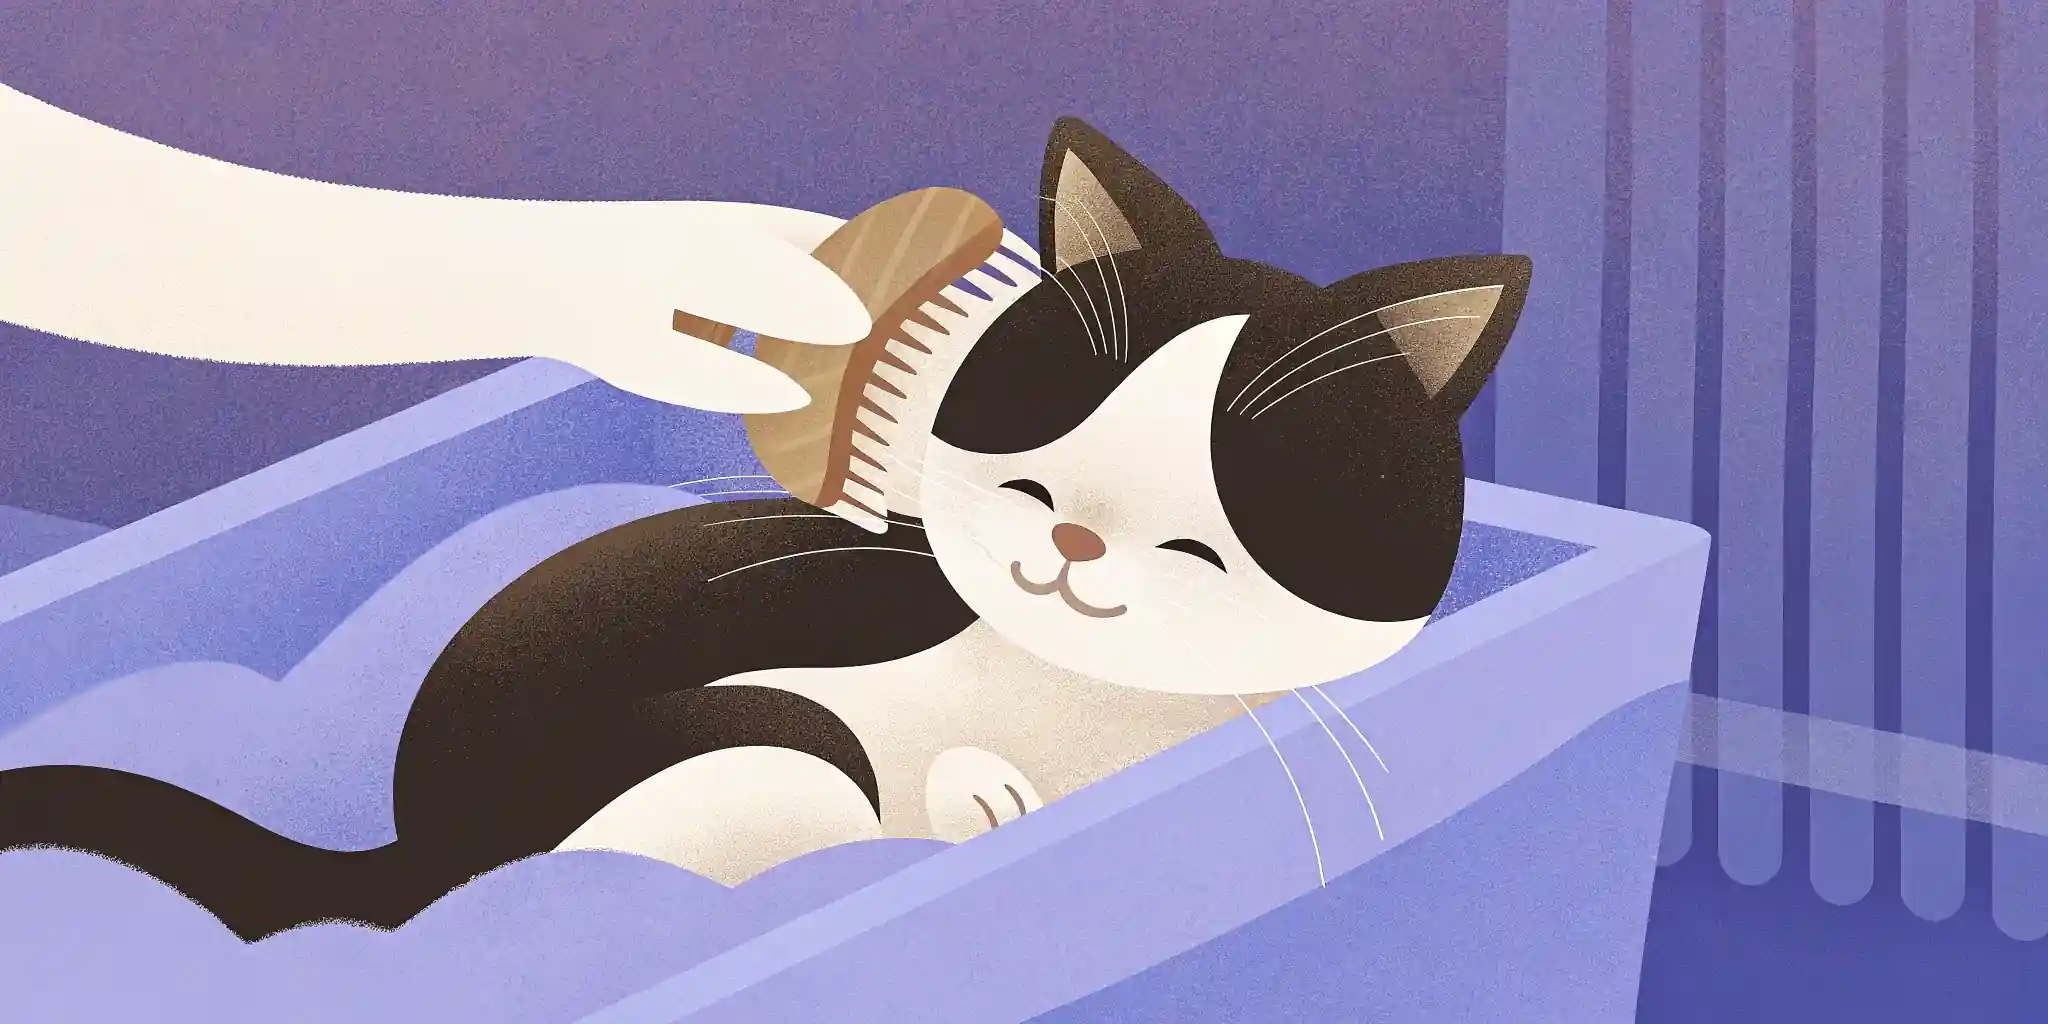
.webp) A fluffy ginger kitten enjoys a gentle brushing session, its eyes half-closed in contentment.
A fluffy ginger kitten enjoys a gentle brushing session, its eyes half-closed in contentment.
Choosing the Right Brush
For kittens, a soft-bristled brush or a grooming glove is ideal. These are gentle on their delicate skin and won’t cause discomfort. Avoid brushes with hard bristles or sharp edges.
- Soft-Bristled Brush: A classic choice that works well for most kittens.
- Grooming Glove: A great option for kittens who are sensitive to brushes. The glove mimics the feeling of petting, making it a less intimidating experience.
- Slicker Brush: While useful for removing mats, use this brush very carefully and gently on kittens, as it can be harsh on their skin.
The Brushing Process
- Start Slow: Begin with short brushing sessions, just a few minutes at a time. Gradually increase the duration as your kitten becomes more comfortable.
- Positive Reinforcement: Use plenty of praise and treats during brushing. This will help your kitten associate brushing with positive experiences.
- Gentle Strokes: Brush in the direction of the fur growth, using gentle, even strokes. Avoid pulling or tugging on the fur.
- Focus on Problem Areas: Pay extra attention to areas that are prone to matting, such as behind the ears, under the legs, and around the tail.
- End on a Positive Note: Finish the brushing session with a cuddle or a play session to reinforce the positive experience.
Kitten Nail Trimming: A Step-by-Step Guide
Trimming your kitten’s nails is essential for preventing scratches and damage to furniture. It also helps to keep their nails healthy and prevent them from overgrowing.
 A person carefully trims a kitten’s claws using small, scissor-style pet nail clippers.
Gathering Your Supplies
Before you start, gather the following supplies:
- Kitten Nail Clippers: Use clippers specifically designed for cats. Scissor-style or guillotine-style clippers are both suitable.
- Styptic Powder: This is essential for stopping bleeding if you accidentally cut the quick (the pink part of the nail that contains blood vessels and nerves).
- Treats: Have plenty of treats on hand to reward your kitten for good behavior.
- Towel (Optional): If your kitten is particularly squirmy, wrapping them in a towel can help to keep them calm and still.
The Nail Trimming Process
- Get Your Kitten Comfortable: Start by gently handling your kitten’s paws. Massage their paws and gently extend their claws. This will help them get used to the feeling of having their paws handled.
- Identify the Quick: Look at your kitten’s nails and identify the quick. It’s the pink part of the nail that contains blood vessels and nerves. Avoid cutting into the quick, as this can be painful and cause bleeding. In my experience, cutting the quick is the fastest way to traumatize a kitten to nail trims, so extra care here is paramount.
- Trim the Tips: Using the nail clippers, trim the tips of the nails, just before the quick. Cut straight across, avoiding cutting at an angle.
- Positive Reinforcement: After each nail trim, give your kitten a treat and plenty of praise.
- Take Breaks: If your kitten becomes stressed or agitated, take a break and try again later. It’s better to trim a few nails at a time than to force your kitten to endure a stressful experience.
- Don’t Force It: If your kitten is really fighting you, stop. It’s better to try again another day than to create a negative association with nail trimming. I believe that repeated positive exposure is better than one rushed, stressful session.
What to Do if You Cut the Quick
If you accidentally cut the quick, don’t panic! Apply styptic powder to the bleeding nail and apply pressure for a few seconds. The bleeding should stop quickly. If it doesn’t, consult your veterinarian.
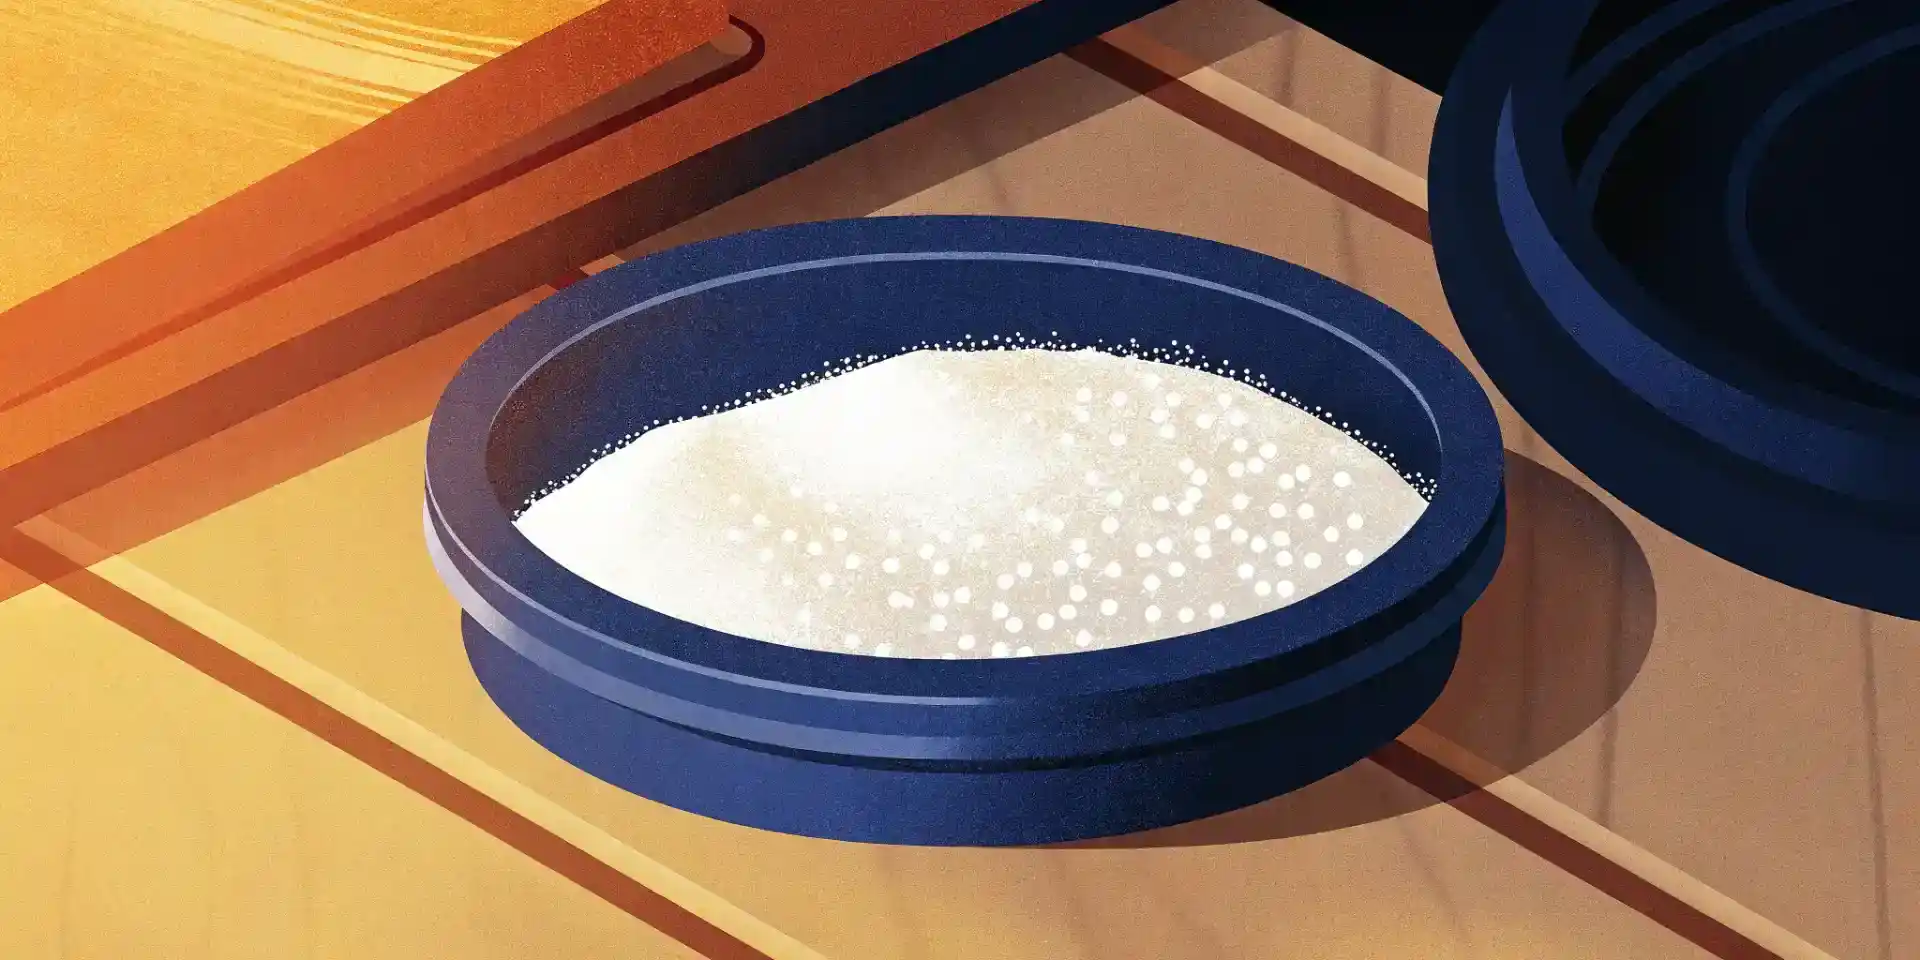 A jar of styptic powder, essential for stopping bleeding if the quick of a cat’s nail is accidentally cut.
Making Grooming a Positive Experience
The key to successful kitten grooming is to make it a positive experience. Here are a few tips to help you achieve this:
- Be Patient: Kittens are still learning and may not always be cooperative. Be patient and understanding, and don’t get discouraged if they resist.
- Use Positive Reinforcement: Reward your kitten with treats, praise, and cuddles during grooming sessions.
- Create a Routine: Establish a regular grooming routine, so your kitten knows what to expect.
- Keep Sessions Short: Start with short grooming sessions and gradually increase the duration as your kitten becomes more comfortable.
- Make It Fun: Turn grooming into a game by using toys or offering distractions.
When to Seek Professional Help
If you’re struggling to groom your kitten, or if they have a particularly matted coat or overgrown nails, don’t hesitate to seek professional help. A groomer or veterinarian can provide expert care and advice.
Grooming your kitten from a young age sets them up for a lifetime of healthy habits and positive experiences. By following these tips, you can make grooming a bonding experience for both you and your furry friend. Remember, a little patience and consistency go a long way in ensuring your kitten’s comfort and well-being. And a well-groomed kitten is a happy kitten!
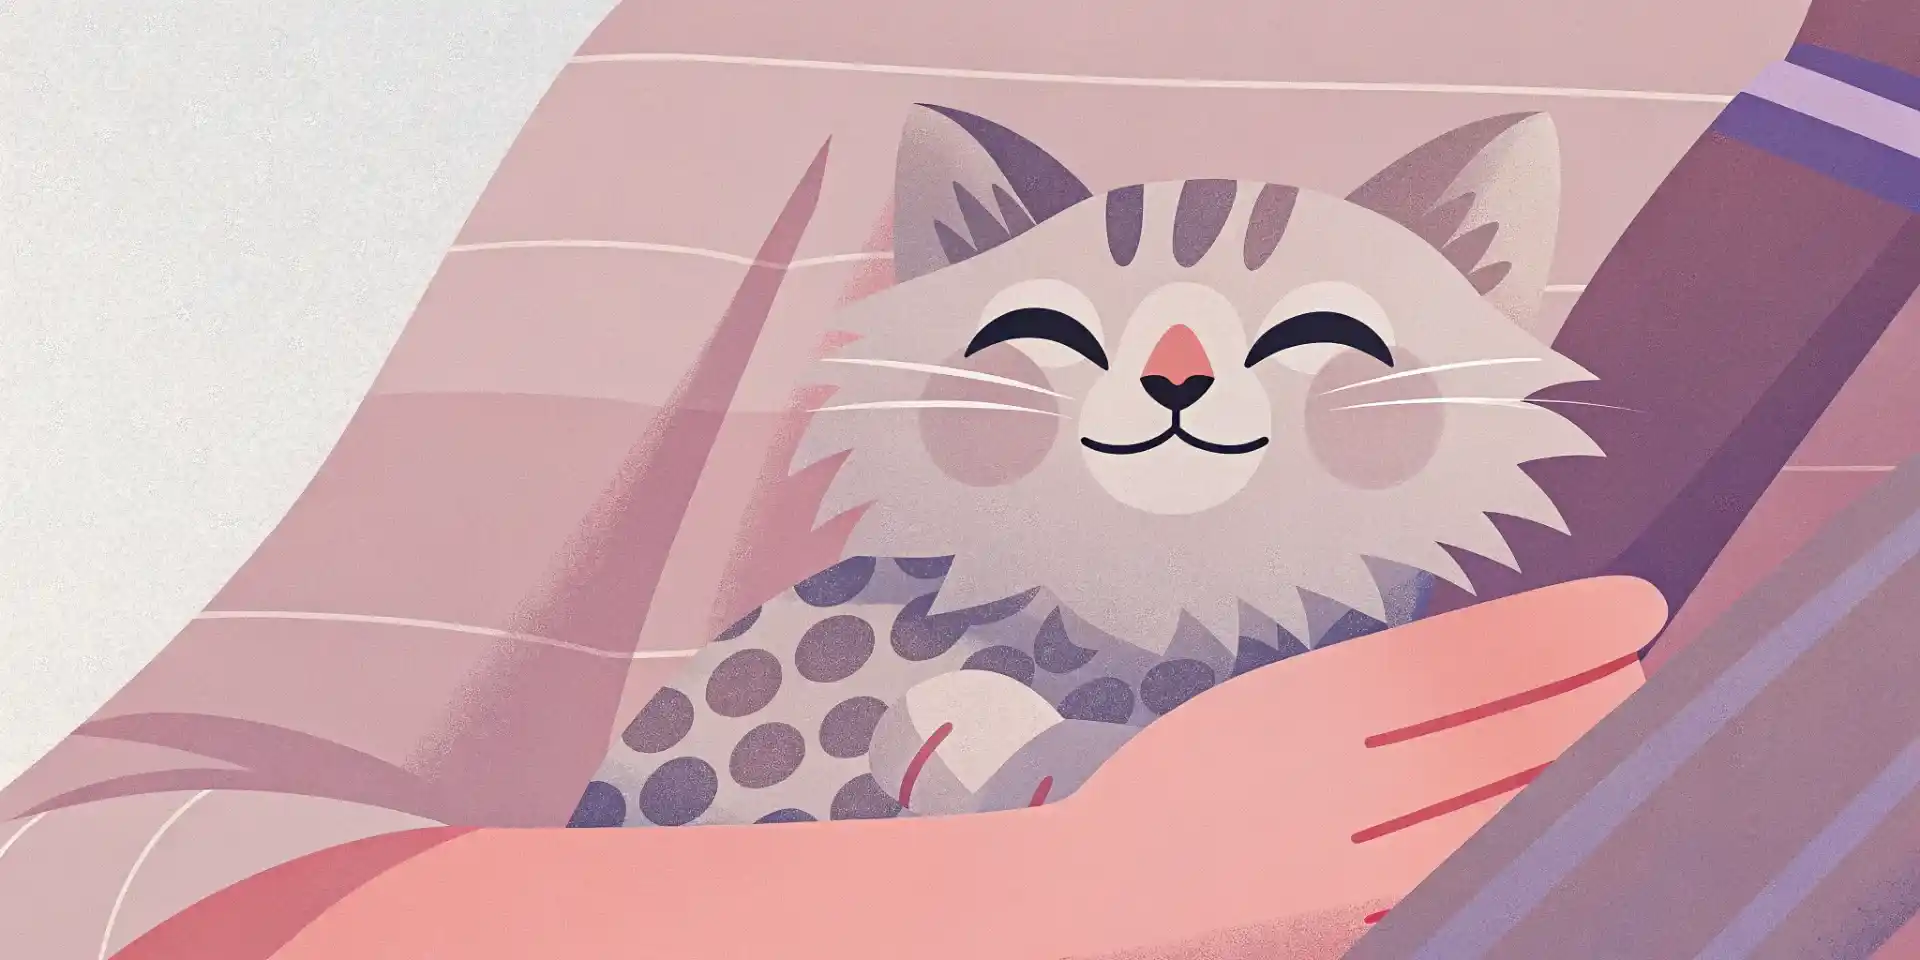 A fluffy kitten snuggles contentedly with its owner after a successful grooming session.